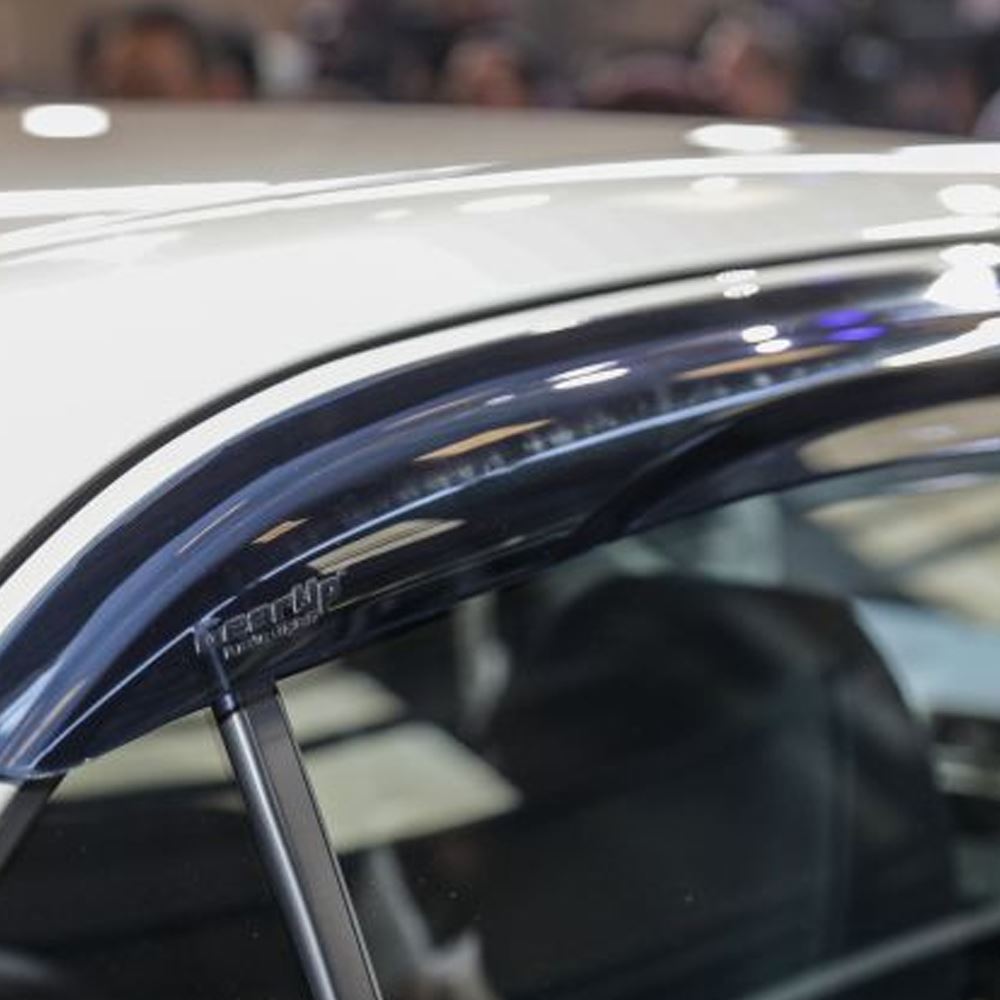
Wind deflectors, sometimes known as window visors, are a common and somewhat easy car alteration. When the windows are partially open, door visors help prevent wind, rain, or snow from entering the car, improving ventilation without putting the occupants through uncomfortable weather exposure.
Installing a door visor is usually a simple task. For exact procedures, you must, however, adhere to the manufacturer's instructions that are included with your particular door visor kit. If you run into any problems or have questions regarding the installation procedure, you might want to see an expert or an automotive accessory store.
- Prepare the Door Frame: Start by ensuring that the door frame and window area are clean and free of dirt, dust, and debris. Use rubbing alcohol and a clean cloth to thoroughly clean the area where the door visors will be installed.
- Check the Visor Kit: Verify that you have all the components in the door visor kit, including the visors themselves and any necessary clips or adhesive. Make sure the visors are labeled for the correct side of the vehicle (e.g., driver's side or passenger's side).
- Position the Visors: Carefully place the door visors on the exterior of the vehicle, ensuring that they align with the window frame. Visors are typically designed to fit precisely along the curve of the window frame.
- Secure with Clips (if applicable): Some door visors come with clips or fasteners. If your kit includes these, follow the manufacturer's instructions to attach the clips. This typically involves inserting the clips into the designated slots on the visor.
- Apply Adhesive (if required): Some door visors attach using adhesive strips. If your kit includes adhesive, follow these steps: a. Remove the backing from the adhesive strips. b. Apply adhesive promoter (if provided) to the cleaned area on the door frame. This helps the adhesive bond securely. c. Carefully align the adhesive side of the visor with the door frame, starting at one end. d. Press the visor firmly into place to ensure a secure bond. Hold it for a few seconds to allow the adhesive to adhere.
- Repeat for Other Side: Repeat the process for the other side of the vehicle if you are installing door visors on both the driver's and passenger's side.
- Adjust and Check Alignment: After attaching the door visors, double-check that they are properly aligned and secure. Ensure they are level and that they do not interfere with the window's movement.
- Final Inspection: Perform a final inspection to ensure that the visors are firmly attached, and there are no gaps or loose areas. Verify that they do not interfere with the window's operation.
- Allow Adhesive to Set: If adhesive was used, give it time to properly set and bond. Refer to the manufacturer's instructions for the recommended setting time.
- Test the Windows: Open and close each window with the visors installed to ensure they do not obstruct the window's operation or produce any unwanted noise.
 Inquire Now
 Smart Carplus


 AUD
AUD CAD
CAD CHF
CHF CNH
CNH EUR
EUR GBP
GBP HKD
HKD JPY
JPY MYR
MYR NOK
NOK NZD
NZD SEK
SEK SGD
SGD USD
USD